
Getting started
What you need
- Python 3.11 or newer.
- A desktop operating system that runs Qt 6: Linux, macOS or Windows.
- Alto installs PySide6 (6.8 or newer) and numpy for you.
The default notation style, Finale Maestro, uses a font that comes with Alto, so nothing more needs installing. Only the “Noto Music” style reads a font from your system; most Linux distributions include it in their Noto font packages. You can change the notation style in Settings.
Download and install
Each release on the Releases page has a Linux download and a Windows installer. They carry their own Python and Qt, so nothing else needs installing.
Linux. Download alto-<version>-linux-x86_64.tar.gz, unpack it, and in the folder it makes run:
sh install.sh install
This copies Alto to ~/.local/opt/alto, links it as ~/.local/bin/alto, and adds Alto to your application menu, for you only, with no
root. To update, unpack the newer download and run the same command. sh install.sh uninstall removes Alto and keeps your practice
history and settings; add --purge to delete those too (use Export backup… first if you might want them back).
Windows. Download alto-<version>-windows-x64-setup.exe and run it. It installs for you only, with no administrator prompt, adds
Alto to the Start menu, and lists it in Settings → Apps. Windows may say it protects your PC because the publisher is unknown: the
installer is not signed yet. Choose More info, then Run anyway. To update, run the newer installer. To uninstall, use
Settings → Apps; the uninstaller asks whether to also remove your practice history and settings.
Check your download
Each release has a file called SHA256SUMS next to the downloads. It lists the SHA-256 fingerprint of every file in the release, so you
can check that yours arrived complete and unchanged. Download it from the same release page, then:
Linux. In the folder that has both files, run:
sha256sum --check --ignore-missing SHA256SUMS
It prints OK after the name of each file it finds.
Windows. In PowerShell, in the folder that has the installer, run:
Get-FileHash .\alto-<version>-windows-x64-setup.exe -Algorithm SHA256
The value it prints should be the same as the one on that file’s line in SHA256SUMS.
The list is signed as well (SHA256SUMS.sig). Alto checks that signature itself whenever it updates a packaged copy; see
Updating Alto.
Updating Alto
Whichever way you installed Alto, you can update from inside it: open the menu (☰) and choose Check for updates…. By default Alto asks GitHub for the newest release and compares it with the version you have (Settings → Updates shows it). If yours is the newest, it says so. If not, it asks whether to install the update, shows its progress, and tells you that Alto will restart when you press OK.
- A copy installed with the script installs the new release itself.
- A packaged copy (the Linux tarball installed with
install.sh, or the Windows installer) replaces itself. It downloads the new release, checks it (see below), tells you that Alto will close, install it and open again when you press OK, and does so. A Linux folder that you only unpacked and ran from is not an install, so it is offered the page where the release can be downloaded, as is a build that has no way to check a download. - A copy you run from a clone is updated with
git pull.
How an update is checked. Every release has a file of checksums (SHA256SUMS) and a signature of it
(SHA256SUMS.sig), made with a private key that only the release workflow has. Alto carries the matching public key. It installs a
download only if the signature on the list is valid, the signed list names that file, and the file’s SHA-256 hash is the one
listed. If any of that fails, it says why and installs nothing. If an update fails while installing on Linux, the copy you had is kept.
To get changes as soon as they are merged, before they are released, tick Follow the main branch in Settings → Updates. The check then compares commits on the main branch instead of releases. This works for a copy installed with the script, and may be less stable than a release; a packaged copy always follows releases.
An update from the menu does not refresh the application-menu entry or icon; sh scripts/alto-install.sh update does that too.
Install and run
git clone https://github.com/altosaurus/alto.git
cd alto
python -m venv .venv
.venv/bin/pip install -e .
.venv/bin/python -m alto
On Windows the virtual environment’s programs are in .venv\Scripts\ instead of .venv/bin/. After installing, the
command alto also starts the app from inside the environment.
Install as a program (Linux)
To have Alto in your application menu, separate from a clone you are working in, use the install script. It needs uv. It installs the newest version from GitHub into its own environment.
sh scripts/alto-install.sh install     # install, and add Alto to the application menu
sh scripts/alto-install.sh update      # fetch the newest version
sh scripts/alto-install.sh uninstall   # remove the program, the menu entry and the icon
Uninstalling keeps your practice history and settings (see Your data). Add --purge to
delete those too; use Export backup… first if you might want them back.
First launch
The first time you open Alto it asks you to create a profile.
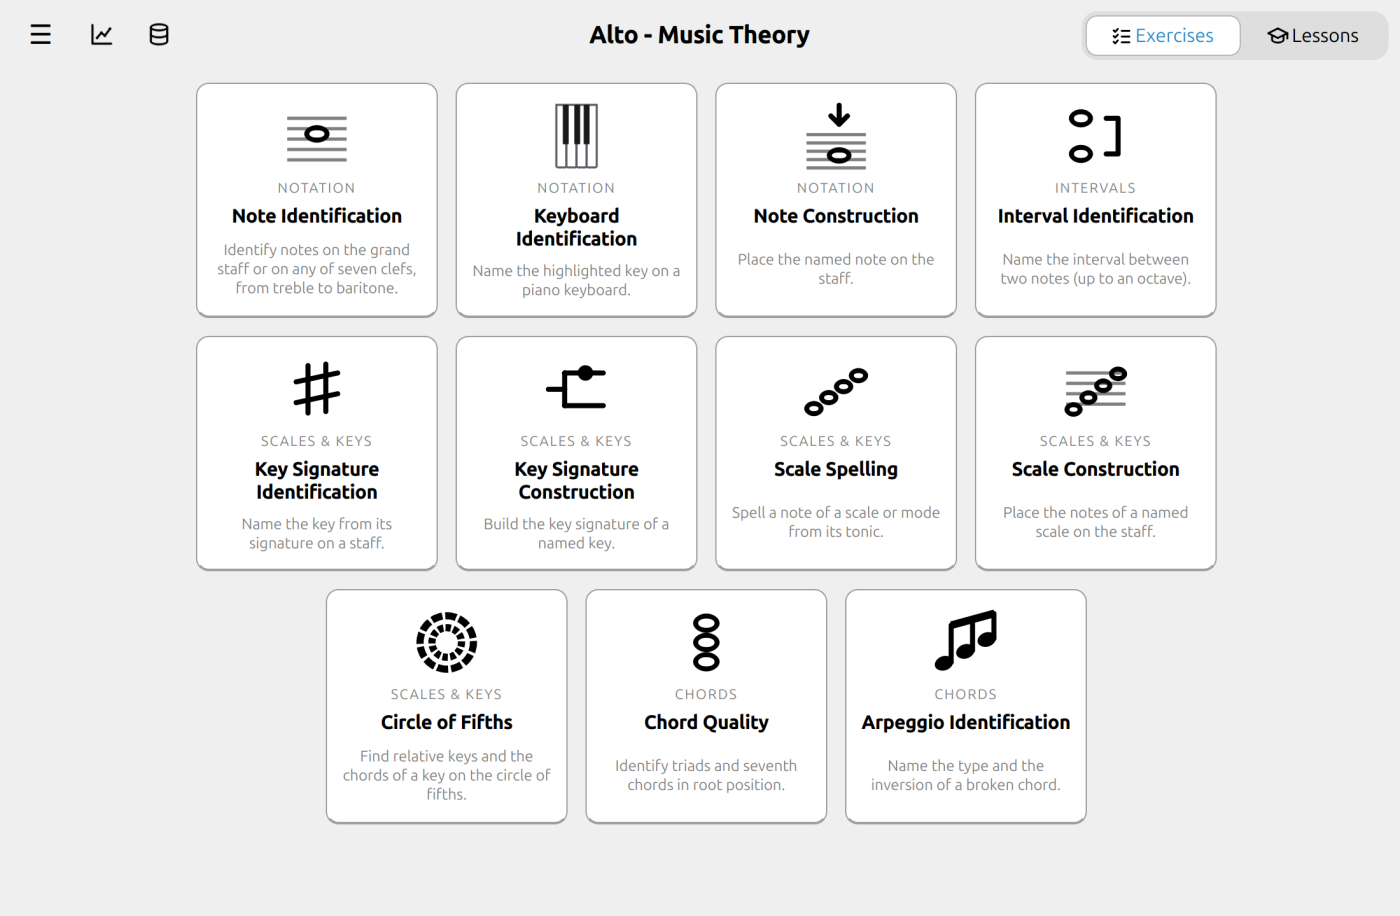
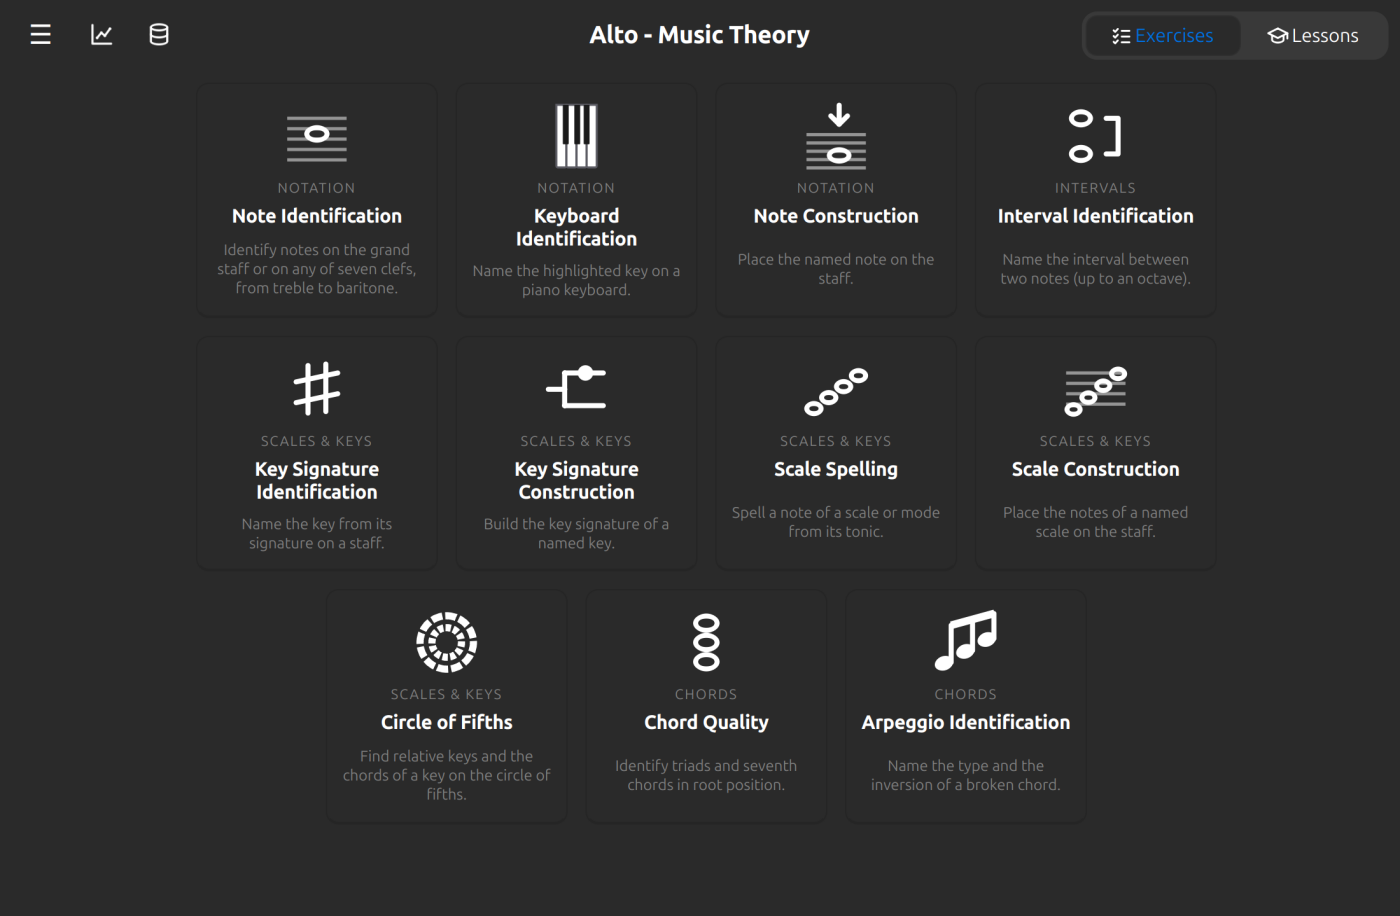
Type a name and press Create profile. There is no password, and the name is only a label that keeps your history separate from anyone else who uses the same computer. Next time Alto opens straight into the profile you used last.
To switch to someone else, or add another profile, open the menu (☰) and choose Profile.
Your first session
- Click an exercise on the home screen.
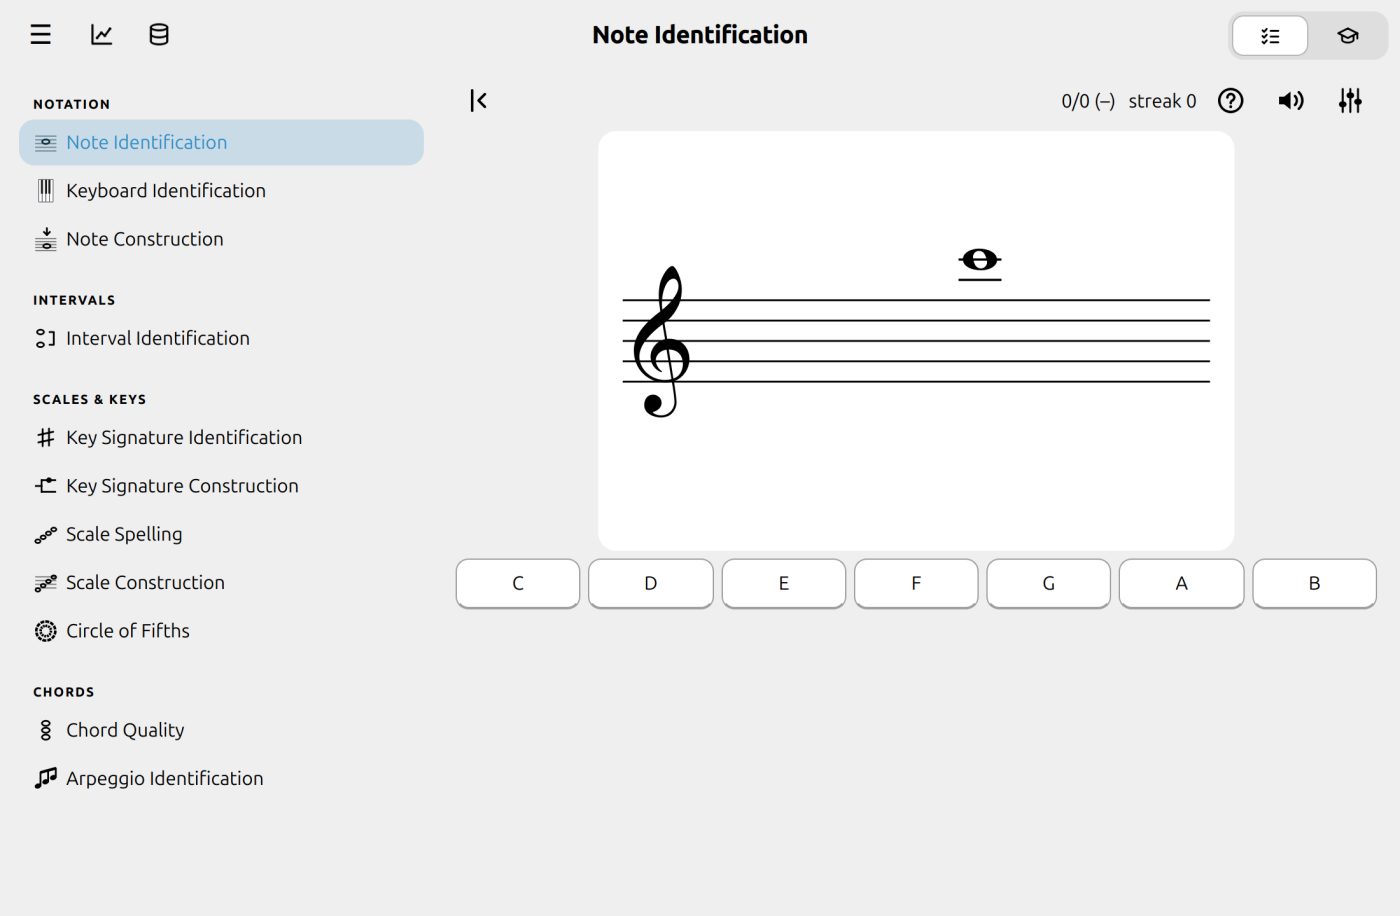
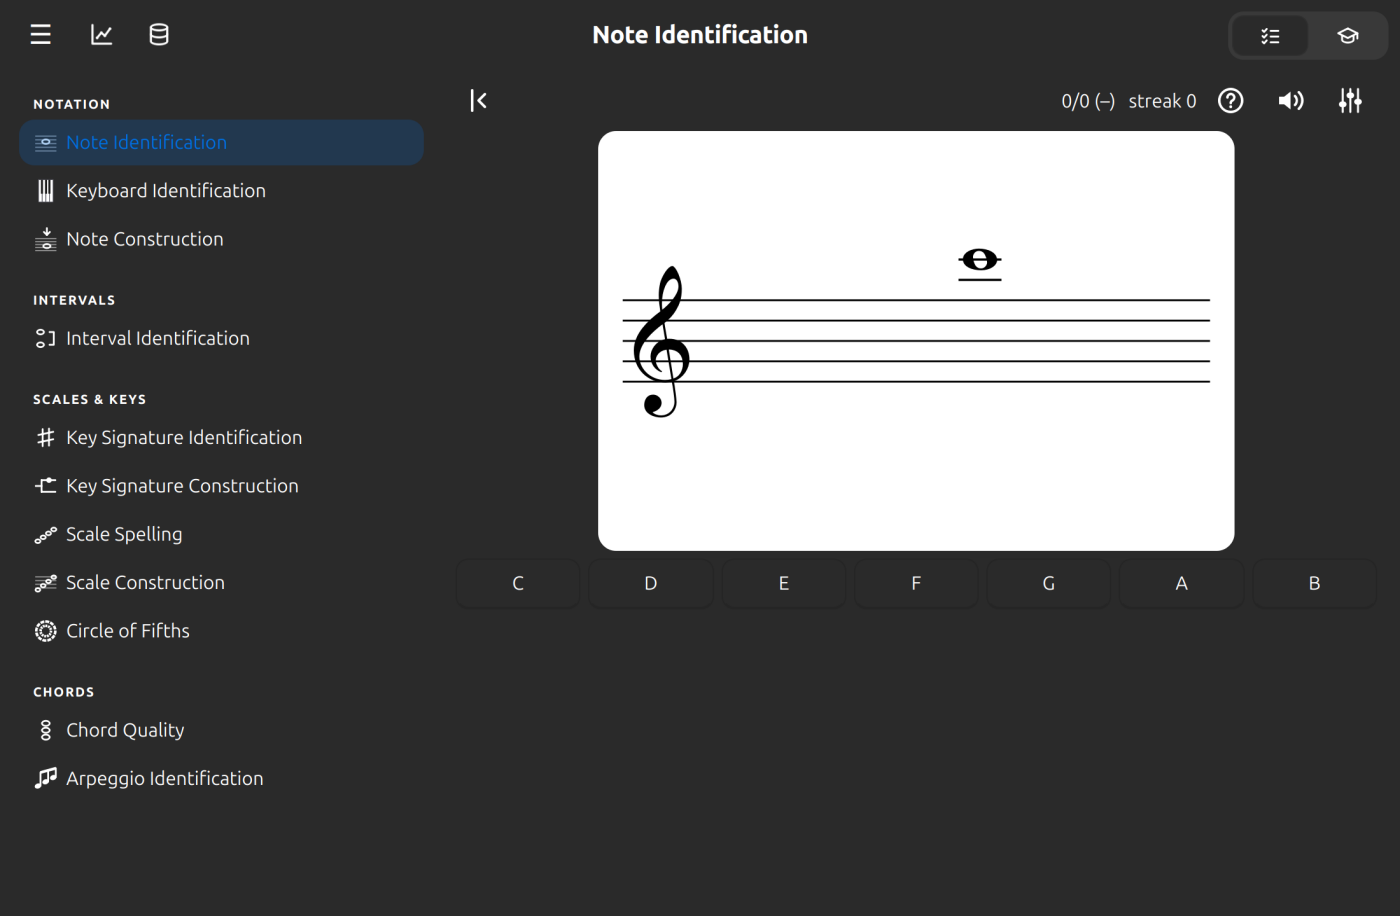
- Answer by clicking a button, or by pressing the number key shown in its tooltip.
- A correct answer turns green and plays the note. A wrong one turns red. Try again until you get it.
- The counter at the top shows how many you have right and your current streak.
The sidebar on the left switches between exercises. The button at the top left of the exercise hides and shows it. The sliders button at the top right opens the exercise’s own settings, and the ? button explains the exercise.
Running the tests
.venv/bin/pip install -e ".[dev]"
.venv/bin/pytest